Are you looking for a fresh and trendy cut to offer your clients? Look no further than the C-Cut. It's been trending for quite some time and it's easy to see why! This stylish hairstyle is characterized by its soft, rounded layers that frame the face beautifully. It's a versatile cut that suits a variety of hair types and lengths.
As a hairstylist, you know the importance of staying up-to-date with the latest trends. The C-Cut is a perfect way to show off your skills and attract new clients. Here's how to recreate this popular look:
- Consult with your client: Before you begin cutting, have a thorough consultation with your client. Discuss their desired length, texture, and overall style preferences.
- Prep the hair: Wash and condition the hair, ensuring it's completely dry before cutting.
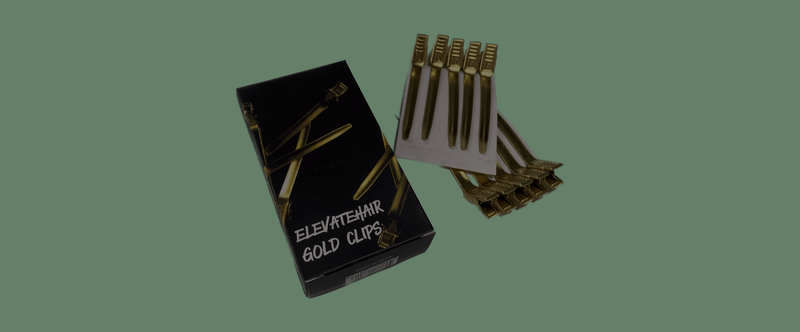
- Section the hair: Divide the hair into four sections: two at the top and two at the bottom. Securing hair with our Elevate Gold Clips.
- Start cutting: Begin with the back section, cutting straight across to create a blunt base. Then, use your Shears to cut in soft, rounded layers around the perimeter. We like to use our Elevate Precision Shears for this; they're the perfect size for creating balanced movement.
- Frame the face: For the front sections, cut in slightly shorter layers to frame the face. Use your Elevate Gold Clips to keep the sections separate while you're working.
- Finish with styling: Once you've cut all the layers, use your Parlux dryer and Elevate Oval cushion brush to style and add shine to the hair. Blow-dry it straight or add some waves for a more textured look.
Remember: The key to the C-Cut is to keep the layers soft and rounded. Avoid cutting too sharply, as this can create a choppy effect.
Ready to give your clients the C-Cut? With our Elevate Shears, Elevate Gold Clips, Parlux dryer, and Oval cushion brush, you'll have everything you need to achieve this trendy hairstyle.
Don't forget to tag @elevatehair in your creations so we can reshare!
Cover (Image credit: @lauraharrier)


